Using EPA Method 9 to Determine Opacity in the Field
Learn how to use EPA Method 9 in the field to determine the opacity of black and white visible emissions, including sun position, viewing angle, wind, backgrounds and 15-second readings.
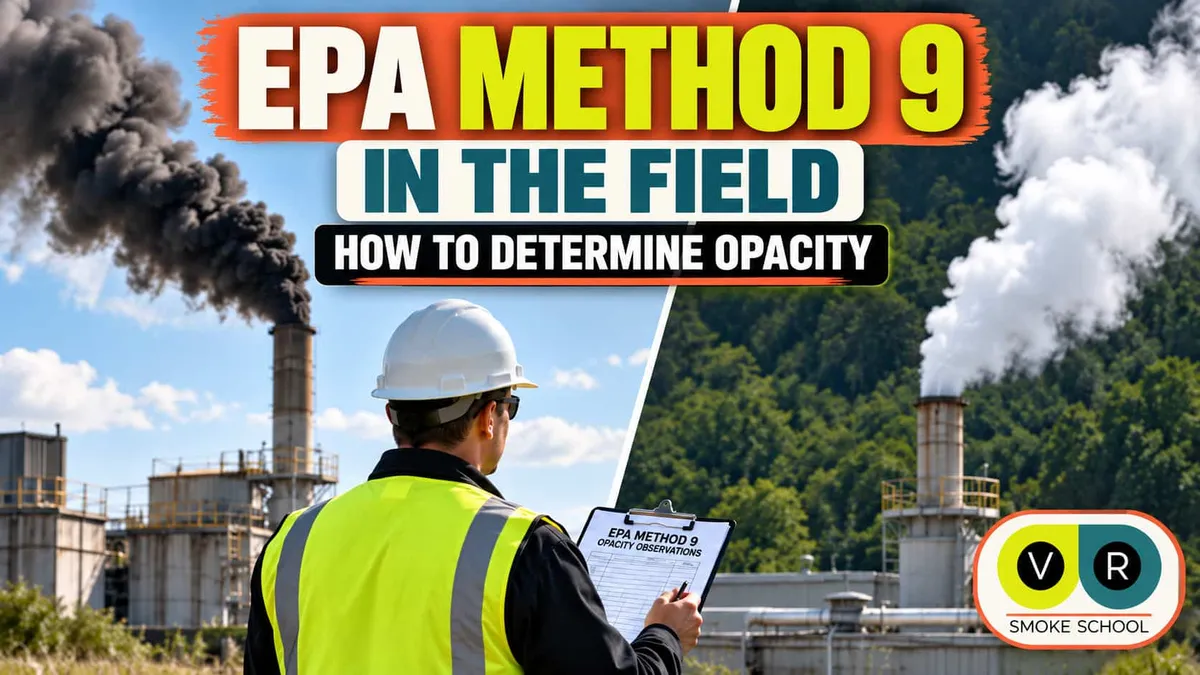
Using EPA Method 9 in the Field: How to Determine Smoke Opacity
EPA Method 9 certification teaches observers how to visually determine the opacity of visible emissions. But making opacity observations at an actual facility introduces variables that are not always present during a smoke school test.
Sun position, viewing angle, wind direction, plume color and the background behind the plume can all affect how opaque smoke appears. A certified observer needs to recognize these conditions and select an appropriate observation position before making a reading.
In the video below, we use our smoke generator to demonstrate these effects with both black and white smoke and show how to make EPA Method 9 observations in the field.
Start With the Correct Sun Position
Sun position can have a noticeable effect on the apparent opacity of a smoke plume.
For an EPA Method 9 observation, the sun must be within the required 140-degree sector behind the observer.
The reason sun position matters is light scattering. Smoke particles scatter sunlight, and viewing a plume with the sun in an improper position can change its apparent brightness and contrast.
In our video, we demonstrate this by showing the same 40% black smoke plume from two different sun positions. Although the actual opacity does not change, the appearance of the plume changes considerably.
For a broader explanation of the regulatory method and its requirements, see our guide to EPA Method 9.
Maintain the Proper Viewing Angle
Distance from the source also matters.
As a general guideline, an observer should stand at least three stack heights away from the plume. This results in a viewing angle of approximately 18 degrees or less.
Standing too close creates a steeper viewing angle and can cause the observer to look through a greater depth of smoke. The longer optical path through the plume can make the apparent opacity higher than it would be from an appropriate observation distance.
The goal is to view a representative cross section of the plume rather than looking through an unnecessarily long section of smoke.
Watch the Wind and Plume Direction
Wind can change the observer's viewing path even when the observer has not moved.
Ideally, the plume should travel across the observer's field of view so the observer is looking through a representative cross section.
If the wind carries the plume directly toward or away from the observer, the viewing path can extend through a much greater length of smoke. This can make the plume appear more opaque.
For this reason, a Method 9 observer may need to reposition during an observation period. The correct observation location is not necessarily fixed. If wind direction changes, the observer should reevaluate the viewing position while continuing to maintain the proper relationship to the sun and plume.
Choose a Background That Contrasts With the Smoke
The background behind a plume can substantially affect its appearance.
Our video compares black and white smoke at 40% opacity against four backgrounds:
- Blue sky
- Cedar trees
- Oak trees
- White or hazy sky
The comparison illustrates an important point: the best background depends on the color of the plume.
For black smoke, lighter backgrounds generally provide better contrast. A bright or hazy sky can make a dark plume stand out clearly, while dark foliage may cause portions of the plume to blend into the background.
For white smoke, the relationship is often reversed. Dark vegetation can provide excellent contrast, while white smoke against a bright or hazy sky can be much more difficult to distinguish.
High contrast can produce a positive bias, meaning the observer tends to read the opacity higher. Low contrast can produce a negative bias, meaning the observer tends to read the opacity lower.
You cannot always choose the ideal background in the field, but when you have a choice, select a background that provides good contrast with the color of the emissions.
Observe the Point of Greatest Opacity
Once you have established the proper observation position, determine where in the plume the reading will be made.
EPA Method 9 observations are made at the point of greatest opacity. Do not select a thin or wispy edge simply because it is easier to see through.
Instead, identify the portion of the plume that obscures the background the most and make the opacity determination at that location.
Make a Reading Every 15 Seconds
EPA Method 9 opacity readings are made at 15-second intervals and recorded in 5% increments.
At each interval:
- Briefly observe the point of greatest opacity.
- Determine the opacity to the nearest 5%.
- Record the reading.
- Wait until the next 15-second interval before making another observation.
Each reading represents an individual observation of the plume at that moment. The observer should not continuously stare at the plume and attempt to mentally average its opacity between readings.
Learn More About EPA Method 9 and ALT-152
VR Smoke School was developed around EPA Alternative Method ALT-152, which allows the smoke school certification process to be completed using an approved virtual-reality headset rather than attending a traditional in-person smoke school.
We co-authored ALT-152 and designed VR Smoke School to make EPA Method 9 training and certification easier to access.
The entire program is free to use. Students can register, complete the online lecture, practice, access reference materials and take the certification test at no cost. You only pay after you pass the test and choose to validate your certification.
You can learn more about the benefits of VR Smoke School or review our complete smoke school certification process.
Free EPA Method 9 Training and Field Resources
Our free online lecture covers the topics demonstrated in this video in greater detail, including proper field observation procedures and documentation.
Registered users also receive access to printable observation forms and a field reference sheet designed to help certified observers make and document Method 9 observations.
Register in less than 30 seconds to access the complete program — no credit card or payment required.